
| Rob Hawley's Pages | Almaden Observatory Main Page |

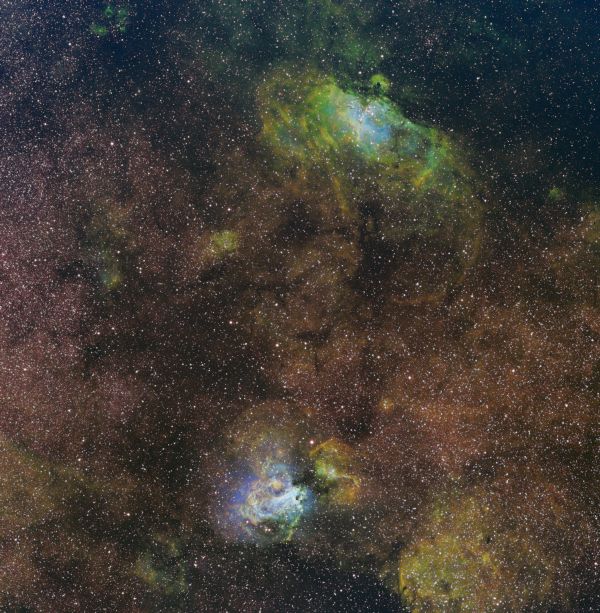
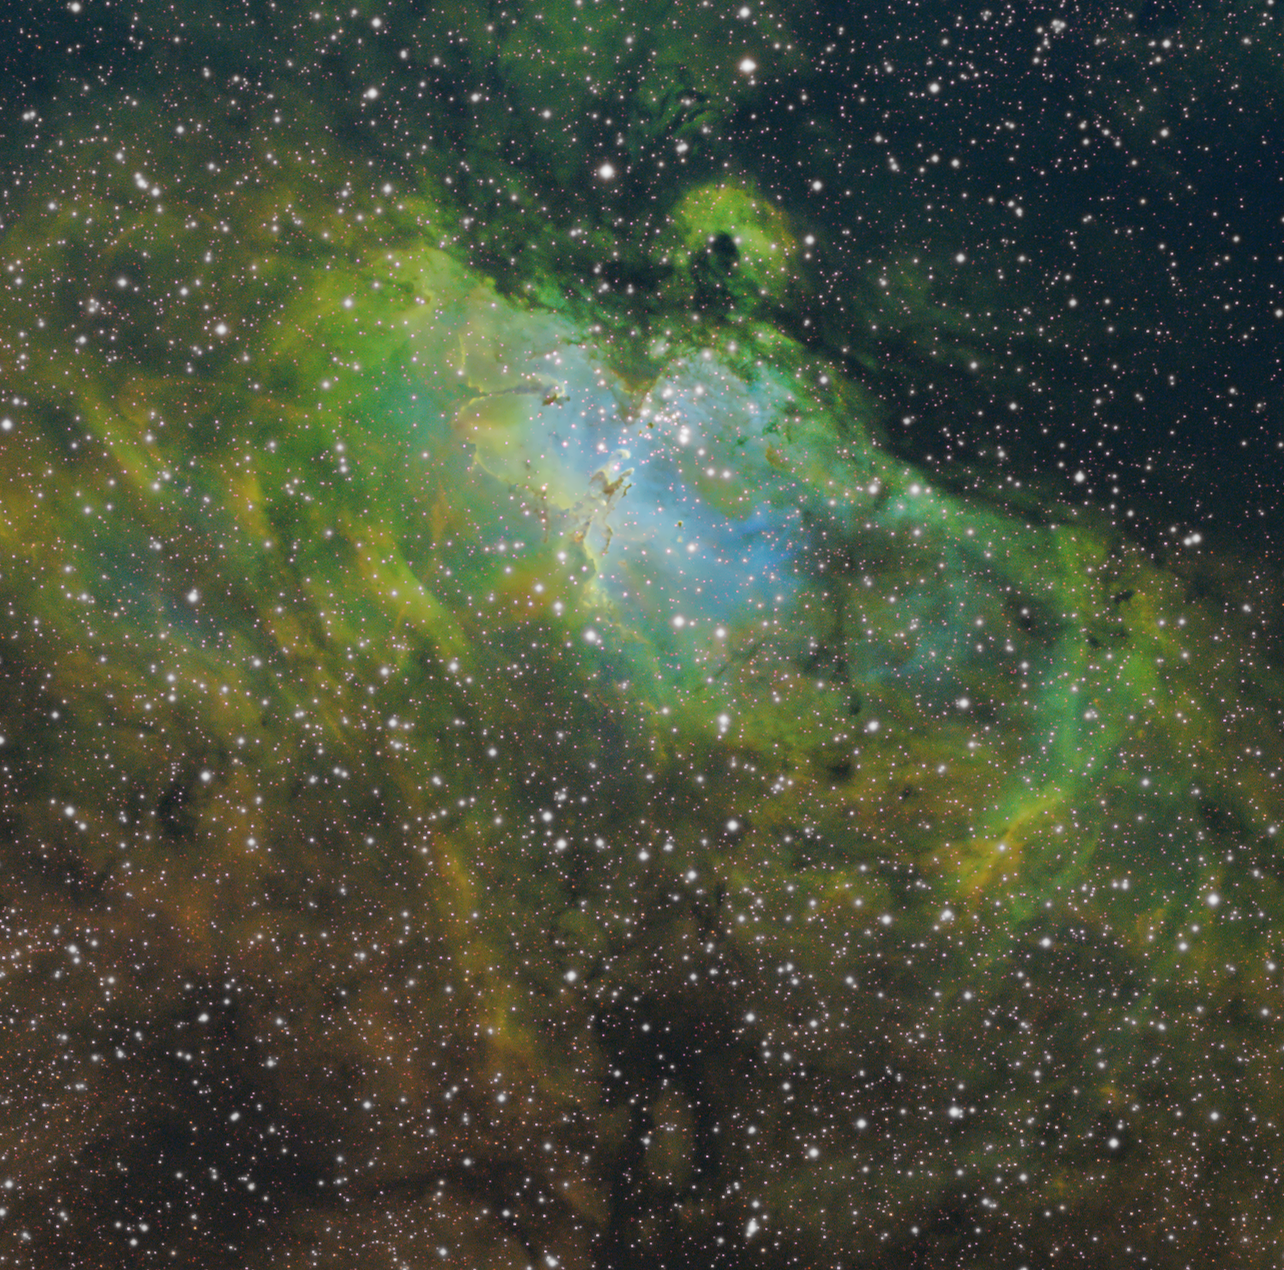
| SHO |
The Hubble Palette used on the telescope | |||
|
||||
| HNO |
This combination combines the 3
brightest returns. The result is surprising interesting. |
|||
") |
  |
  |
  |
| click to zoom into a full size image | ||
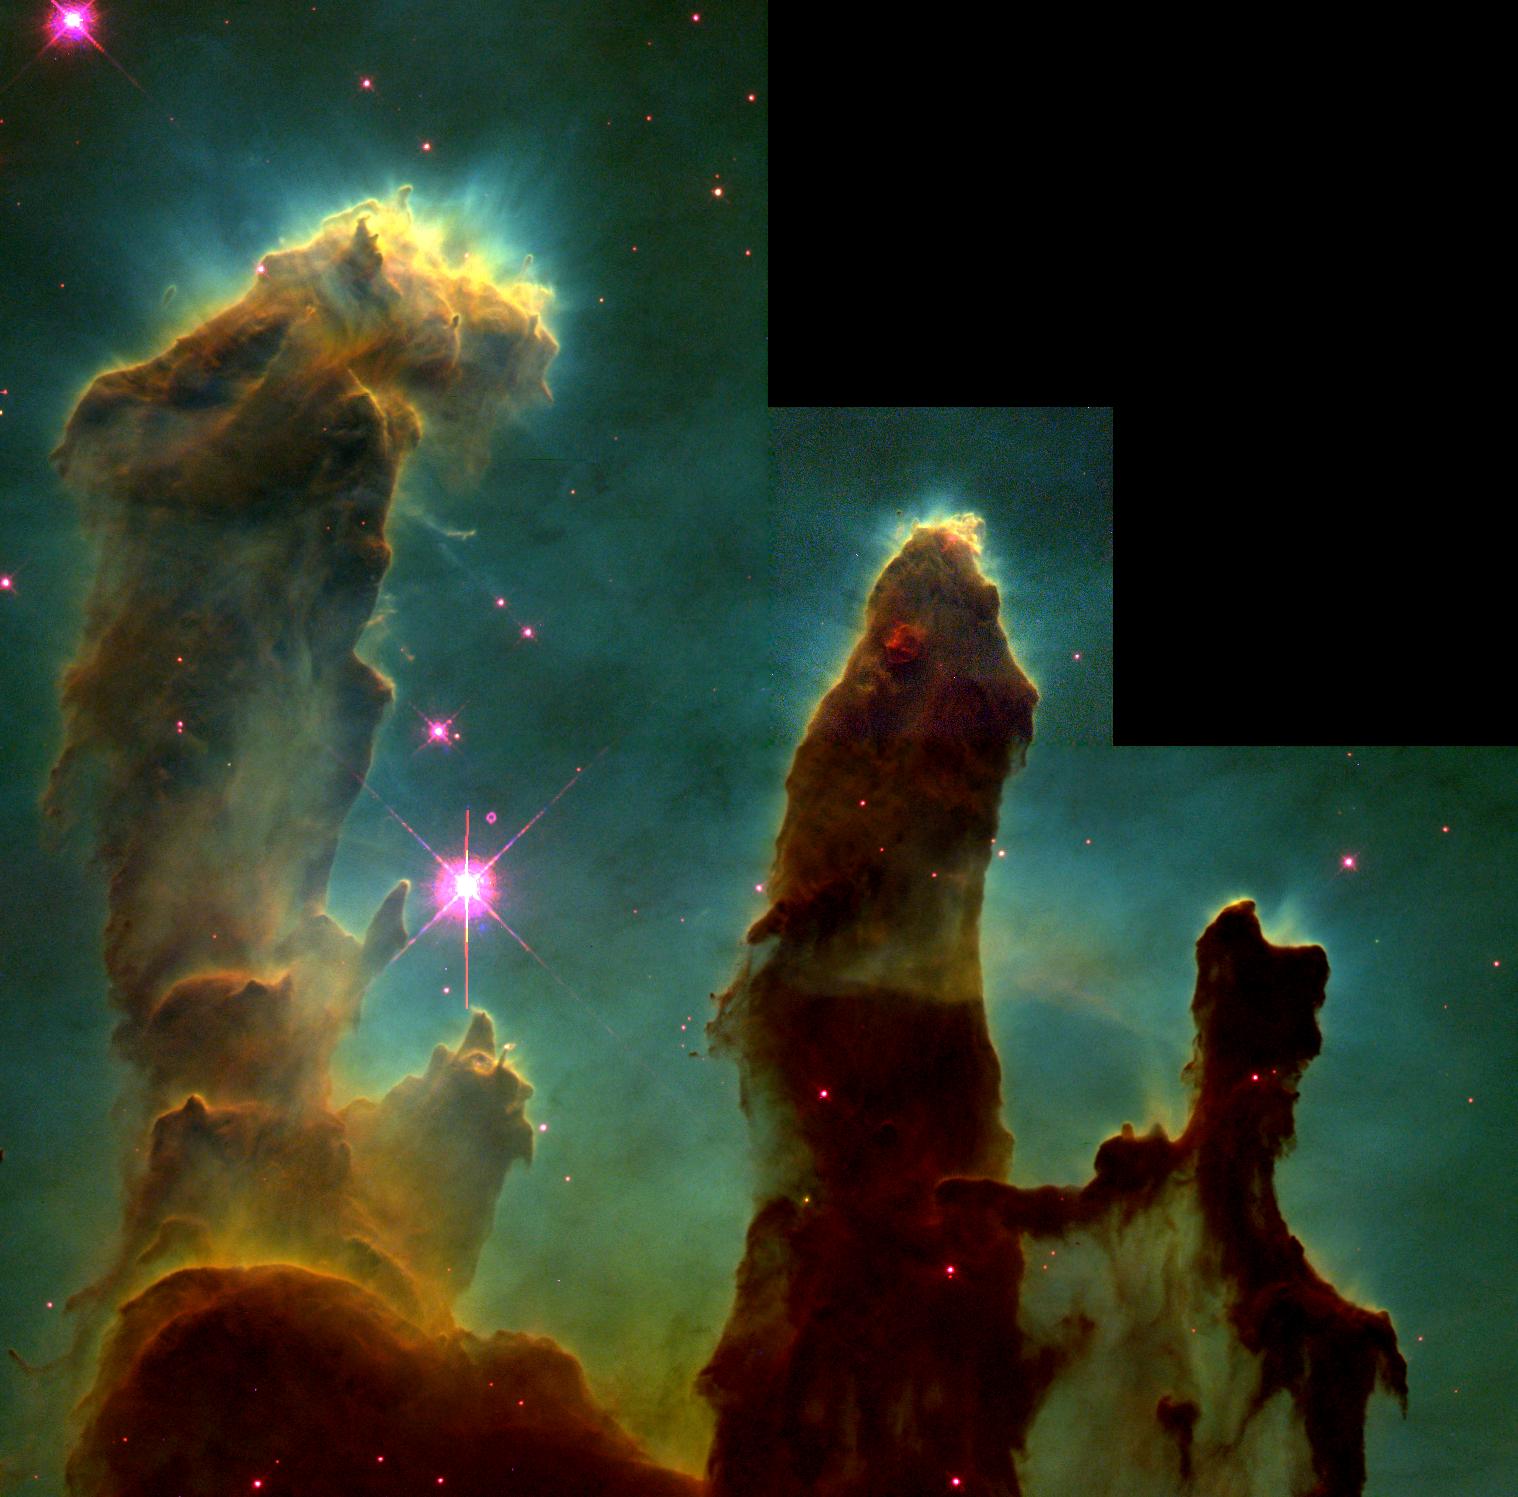 Hubble Hubble |
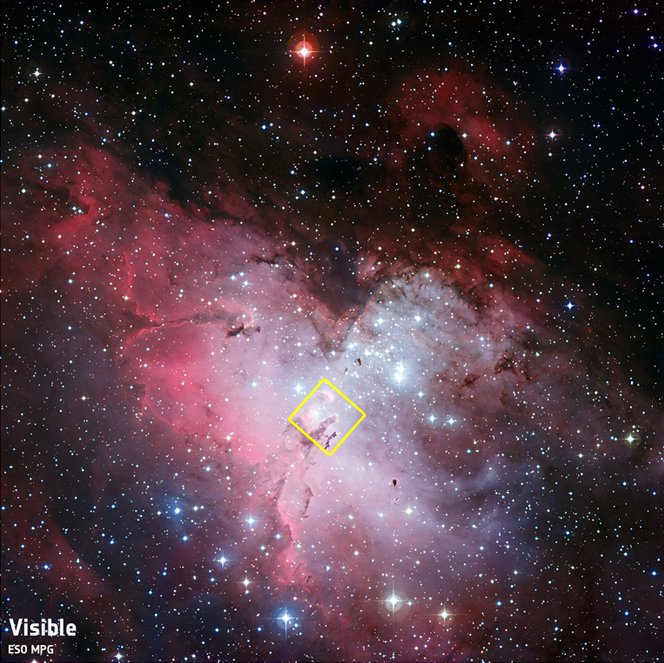 ESO MSG LRGB Image |
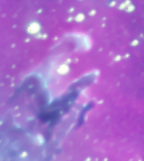 This work (OSN)
|
|
 |
 |
 |
 |
 |
<  |
 |
 |
| Filter |
Exposure |
|---|---|
| Nitrogen | 26x900 |
| Oxygen | 17x900 |
| Sulfur | 12x900 |
| Hydrogen |
12x900 |
