ED-1 Lower Shutter Door RetroFit - April 2013
The original design for the ED-1 automated lower shutter had one
limit switch placed at the bottom of the right actuator. I found
that this design did not close the door reliably. Bfehner
published a revised design for the door on the Yahoo Exploradome
users group. My first (partial) implementation still did not
work. This page changes a couple of parts of Barbara's design, but
retains the key features. The modification consists of three
parts.
- Two sensors are used instead of one. These are placed at
the top of the door instead of at the actuator.
- The limit point of the actuator has to be carefully set.
- The bracket at the bottom requires bracing so it does not
flex. I did not do this in my first attempt. Barbara was
correct that flexing would change the point where the limit
switch on the top triggers.
- The top shutter needs flashing so it rides on top of the lower
shutter instead of sticking.
Upper Limit Switches
Barbara's design uses two switches instead of one. Power is
maintained to the actuators until both switches trigger. My
design works the same way, but I used a different switch.
The switch I chose was an SAIA
XGH6-88-S21Z Mini Snap Switch
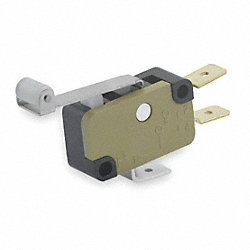
I selected this switch because it only requires 0.79 oz to activate. This will
prevent the switch from forcing the door open. If you plan
to use this switch here is a
drawing to help you drill the holes. The holes in the switch are
3.1 mm (.122"). I used 3 mm screws, but American #4 screws
are only .006 " smaller.
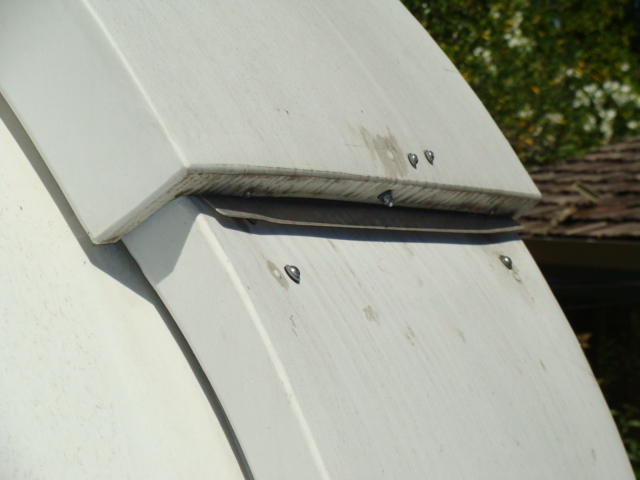
I mounted the switch using a bracket made of 2x2 1/8"
channel. I cut all but about 1/2" from one side so the
channel would fit into the "U" that forms the door track. Note on
this side I had to cut a notch due to a bolt in the dome.
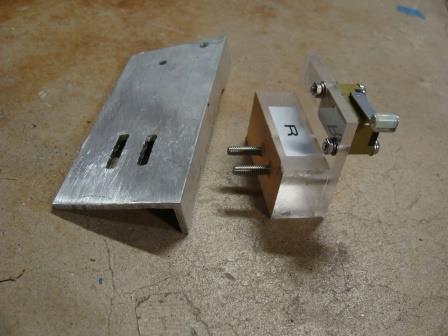
Installing the switches is straightforward.
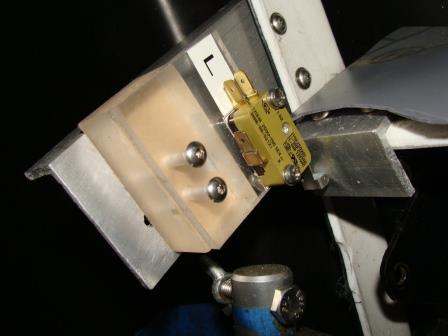
All of the parts were painted black before final installation, but
since that would give a "black cow at night" appearance I am
showing the brackets unpainted. The gray is rubber flashing I use
to plug the gap between the shutters.
Adjusting the Actuator
One point that I did not spend enough time on the first time I
tried this was setting the trigger point of the actuator
correctly. With Barbara's design the actuator motion stops
in one of two ways
- Both limit switches trigger
- The actuator hits its limit
The head of the actuator screws out to
adjust its length; however, for this design to work correctly the
actuator needs to trigger its switch before
it reaches its limit. Since both sides may not trigger at the
same instant it is important that the actuator does not move too far
past the triggering its side or the door may be damaged.
Figuring out how to set up the actuator was easy once I understood
these points.
- Screw the actuator fully in
- Using a 6-volt battery run the actuator fully
in. Using a 6 Volt battery will slow things down and make
the adjustment far easier.
- Now use the 6-volt battery to run the actuator 1/4".
This will allow the actuator some travel after we adjust the
final length.
- Now it is time to adjust the limit switch.
- With both actuators disconnected tape a 3/32" drill (or
anything else that to force the spacing) to the dome where the
top of the shutter will hit. We will be adjusting the
switch so it triggers slightly before the door is fully closed
- While holding the door against the shimmed dome adjust the
location of the switch so it just triggers at this point.
- Without extending the actuator further screw
the actuator out so the actuator holds the door at this
position. You may have to dremel the side of the dome to get
the screw used as a pivot in and out. You may also have to
move the bracket on the shutter.
- With this done the switch will trigger while the door is
about 3/32" from closing. That leaves room for the actuator to
continue moving, but not so much as to prevent the upper
shutter from closing
- Test the opening and closing using the 6V battery. Listen
carefully to make sure you hear the click of the relay before
the actuator stops moving. A continuity meter can confirm
the closing if you are in a noisy location.
- Remove the pivot screw from the actuator and repeat on the
other side
- Now extend both actuators 1/4" from their hard stop and attach
them to the shutter. Reconnect to the controller and test.
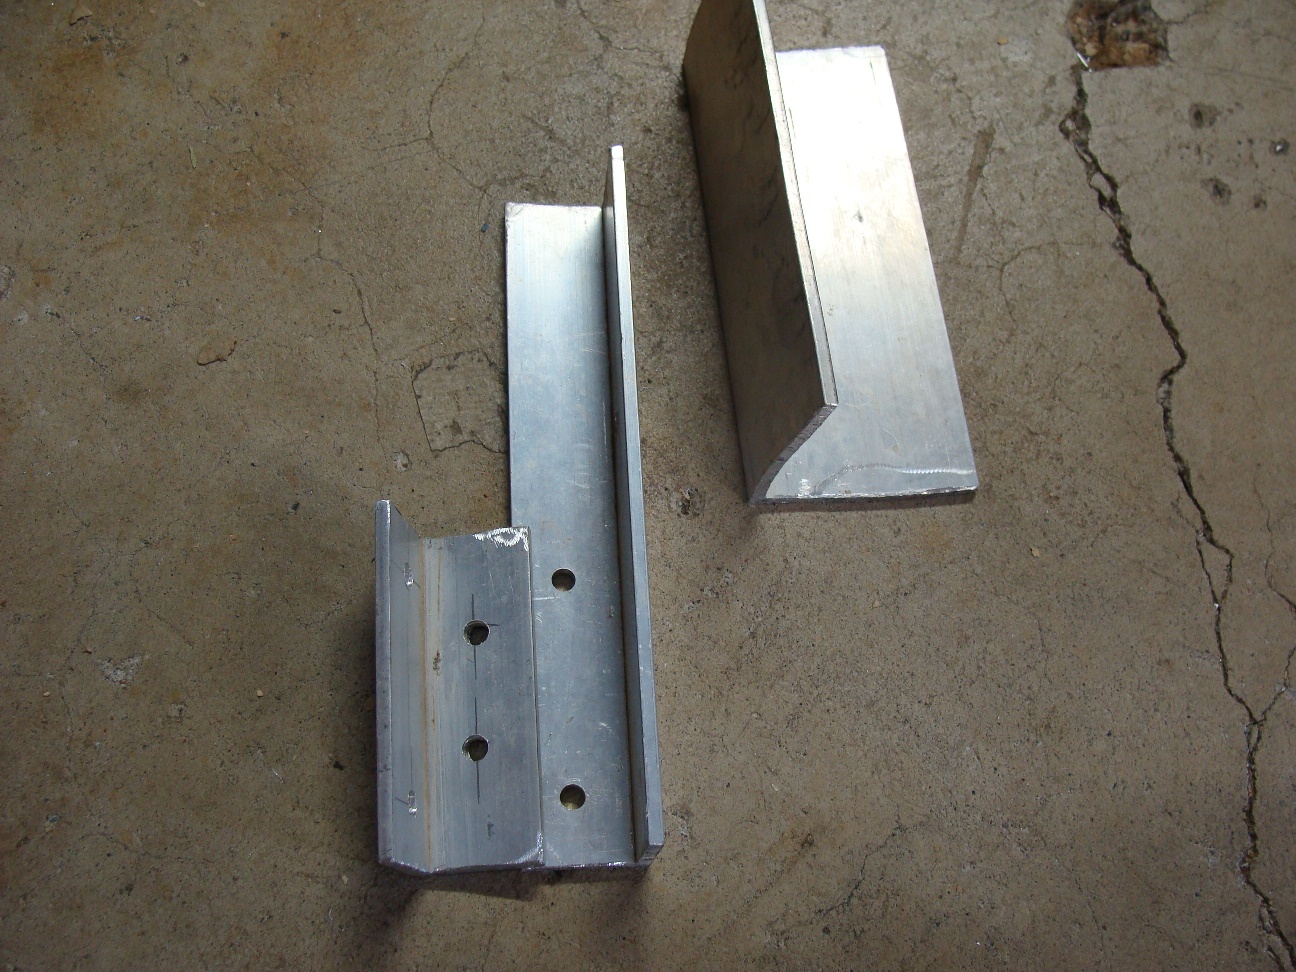
Bottom Brace
Barbara correctly argued that it was important to reinforce the
bottom bracket so it does not flex. When I first tried her
design I did not do this and my implementation did not work.
This time I decided to take her advice. She placed her
reinforcement at the bottom of the bracket. I was concerned
that this might interfere with the shutter. I instead
decided to reinforce higher on the bracket which would apply more
leverage to the actuator bracket and not interfere with the
shutter. Again the parts use 1/8" channel. One part is from
2" and the others are 1". Note the bend in the 2". I will
discuss this below.

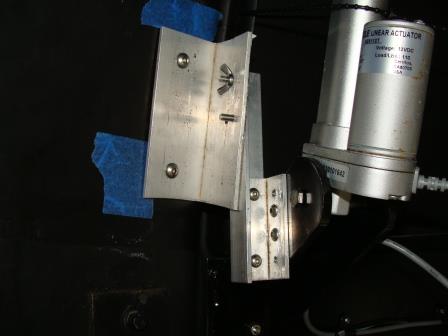
There are two parts of this design that are tricky. The first
is that you must be careful that the screws on the brace do not
interfere with the actuator. When I finally installed the
brace I placed the head of the screw inside the brace. My
shutter also contains a modification so it does not fully open since
doing so would just give me a better view of the nearby house and
its lights. If you want to have the shutters fully open you
may have to place the screws differently. This is definitely a
case of "measure twice..."
The 2" piece of channel needs to be bent at greater than 90º.
I cold bent one bracket. I found that heating the channel with
a MAP torch made bending the second far easier.
Top Shutter Flashing
This is something I got from Exploradome and may be standard on new
installations. It is basically 1/16" channel bent to about
120º and then attached to the bottom of the upper shutter. The
flashing allows the upper shutter to move over the lower shutter.